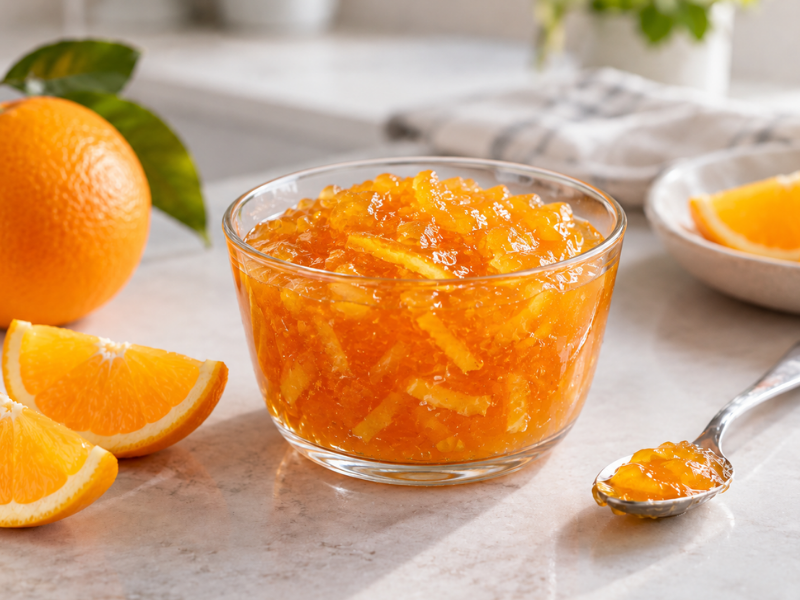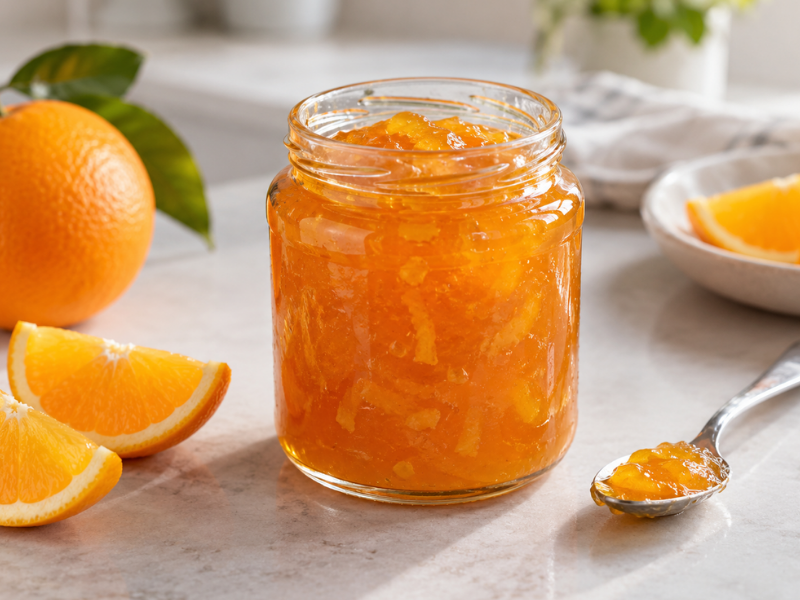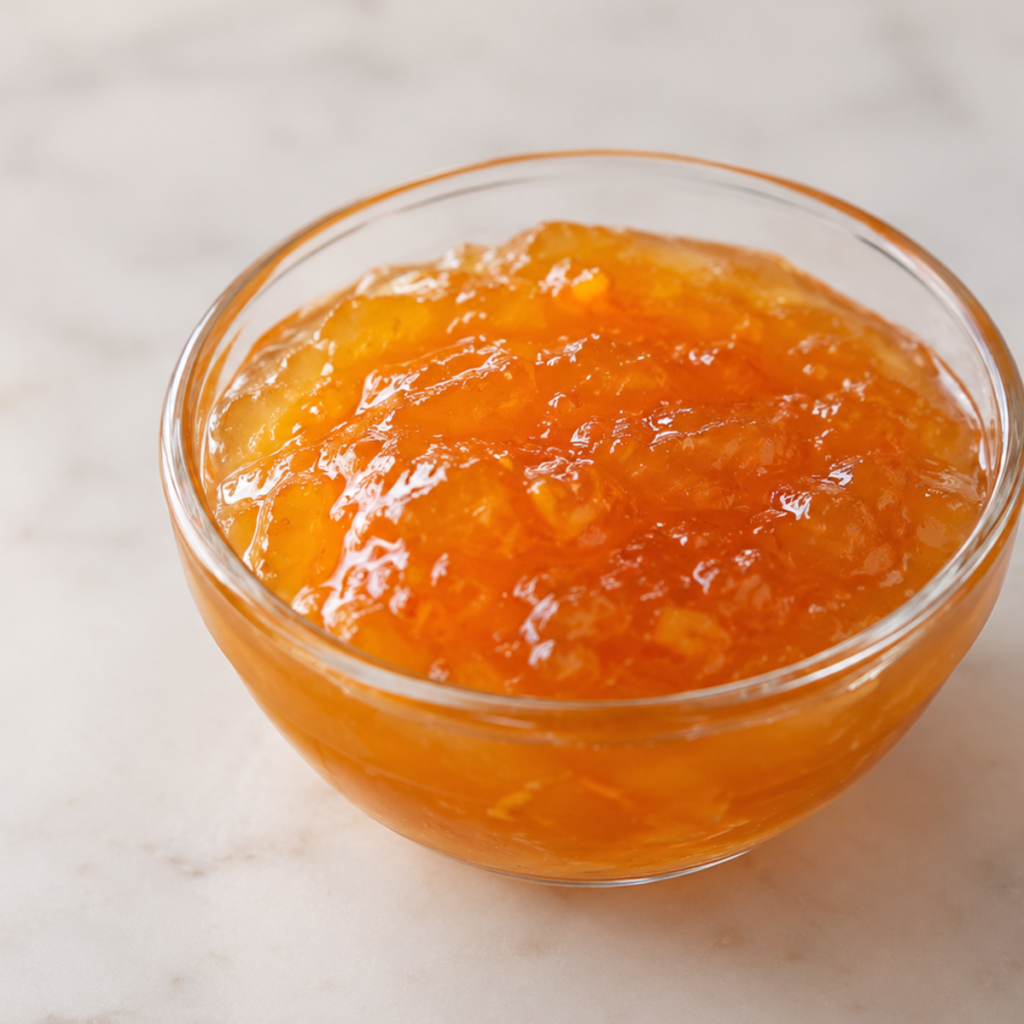
There are few things more satisfying than cracking open a jar of orange marmalade you made yourself. The color, the smell that hits you when you lift the lid, that flavor that's nothing like what you find at the store...
If you have a Thermomix, making it is so easy that once you try it, you won't want to buy it again.
I make this recipe every winter, when oranges are at their peak. We're lucky to have amazing oranges from November through April, and there's no better way to take advantage of the season than making a few batches of marmalade to stock the pantry for the rest of the year.
What I love most about making it in the Thermomix is that you can completely walk away. No stirring, no watching for sticking, no adjusting the heat.
You add the ingredients, set it, and go do something else. When it beeps, the marmalade is done. About 45 minutes of cook time with barely any effort on your part.
I've been fine-tuning this recipe over the years, testing different sugar ratios, cook times, and tricks I've picked up along the way.
The version I'm sharing here is the one that gives me the best results: a marmalade with a strong orange flavor, not too sweet, great texture, and it keeps perfectly for months.
The two-phase cooking is what makes the difference. Instead of going straight to Varoma temperature (around 250°F / 120°C, which can cause serious splattering), we start with 30 minutes at 212°F / 100°C.
During this first phase, the fruit releases its juice, the sugar dissolves completely, and the mixture reduces gently without any risk of erupting.
Then we bump it up to Varoma for 15 minutes. That final blast of heat lightly caramelizes the sugars, concentrates the marmalade, and activates the fruit's natural pectin so it sets as it cools.
The ratio I use is 2.2 lbs (1 kg) of peeled oranges to 14 oz (400 g) of sugar. That's less sugar than commercial marmalades (which typically run 60-65% sugar), and it lets the orange flavor take center stage.
If you like it sweeter, you can go up to 17.5 oz (500 g), but I wouldn't recommend it. At 400 grams, the balance between sweet and tart is spot on.
The lemon juice isn't just for flavor. The citric acid helps the oranges' natural pectin gel more effectively, so the marmalade sets firmly without needing store-bought pectin or thickeners.
Pick your oranges carefully. The best ones for marmalade are table or juice oranges that are in season, firm, and heavy for their size, which means they're full of juice.
If you can get organic or unwaxed oranges, even better, especially if you plan to use the zest. Avoid overripe oranges; fruit that's past its prime has lost some of its natural pectin and won't set as well.
Remove all the white pith. That white layer under the peel is incredibly bitter. Use a knife to peel the oranges instead of doing it by hand, so you can strip away all the white threads and membranes.
Take out the seeds too, since they're just as bitter. It's the most tedious step in the recipe, but it's the one that decides whether your marmalade tastes like orange or like bitter orange.
Always use the simmering basket over the lid. This is essential. Boiling marmalade splatters, and without the basket acting as a filter, it can shoot out through the measuring cup hole and cover your countertop (or worse, burn you).
Remove the measuring cup and place the simmering basket on top of the lid so steam can escape and the mixture reduces, while splatters stay contained.
Use the cook time to sterilize your jars. While the marmalade is going, you can sterilize your jars by boiling them in a pot of water for 10-15 minutes or running them through the dishwasher on a hot cycle. The jars should be hot and dry when you pour the marmalade in.
Don't judge the consistency while it's hot. Marmalade always looks more liquid than it actually turns out once it cools. To test the set, stick a small plate in the freezer before you start.
When the cooking is done, drop a teaspoon of marmalade on the cold plate, wait a minute, and run your finger through it. If it holds a clean line and doesn't flow back together, it's ready. If it's still too runny, give it another 5 minutes at Varoma.
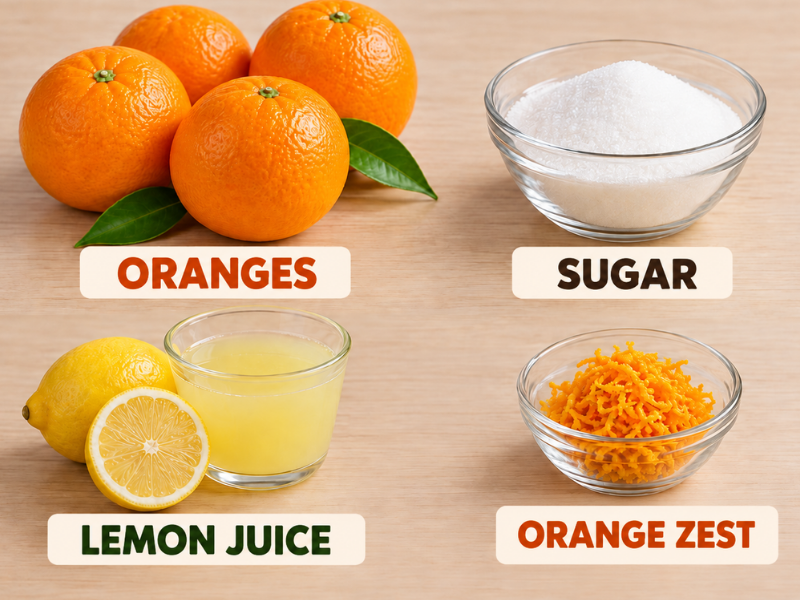
Wash the oranges well under running water, especially if you're using the zest. Zest one of them with a microplane or fine grater, taking only the colored layer without going into the white. Set the zest aside.
Peel all the oranges with a knife, removing the skin and all the white pith. Separate them into segments and strip away the white membranes and seeds.
Weigh the clean pulp: you want about 1.6-1.75 lbs (750-800 g). Each orange gives you roughly 5-6 oz (150-180 g) of clean pulp, so 5-6 medium oranges is usually enough.
Put the orange pulp in the Thermomix bowl along with the sugar, lemon juice, and reserved zest. Set it to 10 seconds, progressively increasing from speed 5 to 7 to 10. If you prefer marmalade with chunks, 5-6 seconds at speed 4-5 is enough. If you want it smooth, go for 15 seconds at speed 10.
Scrape down the sides of the bowl with the spatula.
Set it to 30 minutes, 212°F / 100°C, speed 1. Remove the measuring cup and place the simmering basket on top of the lid to catch splatters while letting steam escape, which helps the mixture reduce and concentrate.
During this phase the mixture bubbles gently, the sugar melts into the fruit, and the marmalade starts to thicken.
Without letting it cool down, set it to another 15 minutes at Varoma temperature (around 250°F / 120°C), speed 1. Keep the measuring cup off and the simmering basket on the lid, same as before.
This phase is more intense. The marmalade reduces further and darkens slightly as the flavor concentrates.
Do the cold plate test: drop a teaspoon of marmalade on the plate you put in the freezer earlier, wait a minute, and run your finger through it. If it holds a clean line and has a soft gel texture, it's done.
If it's still too runny, set it to another 5 minutes at Varoma, speed 1, and test again. Keep in mind that marmalade thickens quite a bit as it cools, so it's better for it to look slightly liquid while hot than to end up like a brick the next day.
Pour the marmalade right away, still very hot, into sterilized, dry glass jars. Fill almost to the top, leaving just about a quarter inch of space. Screw the lids on tight and flip the jars upside down.
Leave them like that until they're completely cool. This step creates the vacuum seal that lets you store the marmalade for months at room temperature.
A lot of people skip this step, and it's the single most important thing for making your marmalade last months in the pantry without going bad.
Wash the jars and lids with hot soapy water and rinse well. Then you have two options for sterilizing:
Submerge jars and lids in cold water in a large pot, bring to a boil, and boil for 10-15 minutes. Remove with tongs and let them drain upside down.
For marmalades with at least 40-50% sugar (like this one), the easiest method is the hot inversion. Fill the jars with freshly made marmalade, seal tightly, and flip upside down. As they cool, the lid gets sucked inward, creating an airtight seal.
If you want longer storage (a year or more), you can do a full water bath: with the jars already sealed, submerge them in a pot of water that covers them and boil for 20-25 minutes. Let them cool inside the water.
Once the jar is completely cool, the lid should be concave (pulled inward) and shouldn't flex or click when you press on it. If the lid pops up and down when pressed, the seal didn't take. Store that jar in the fridge and use it within 2-3 weeks.
With a proper seal (hot inversion): 6 to 12 months in a cool, dry, dark spot (pantry, cupboard). Once opened, always in the fridge and use within 3-4 weeks.
With water bath processing: up to a year or even longer, under the same conditions.
Without sealing (just a closed jar): 3-4 weeks max in the fridge.
In the fridge without a jar (a bowl covered with plastic wrap): 1 week tops.
One important detail: always use a clean spoon when scooping marmalade out of an opened jar. Dipping in a spoon that's already touched butter, for example, introduces bacteria and shortens the shelf life.
Bitter orange marmalade (British style): if you can get Seville oranges, use them. The process is the same, but leave the peel of one or two oranges in the mix (well washed, sliced into very thin strips).
The result is a more intense marmalade with an elegant bitterness that's incredible on buttered toast and on a cheese board. You may need to bump the sugar up to 16-17.5 oz (450-500 g) to balance it out.
With ginger: add about 1 oz (20-30 g) of fresh ginger, peeled and grated, along with the oranges before blending. It gives a warm, spicy kick that pairs beautifully with citrus. Great alongside aged cheese or pâté.
With cinnamon and cloves: drop a cinnamon stick and 2-3 whole cloves into the bowl during cooking. Remove them before jarring (or blend them into the mix if you want a stronger flavor). Tastes like the holidays.
With carrot: add one small carrot, peeled and chopped, before blending everything together. This is a classic Thermomix hack. The carrot deepens the orange color, adds a gentle natural sweetness, and helps the texture come out silkier, without any noticeable carrot flavor.
With less sugar: you can drop to 10.5 oz (300 g) if you prefer a less sweet, more tart marmalade, but keep in mind that less sugar means shorter shelf life (always keep it refrigerated and use within 2-3 weeks) and a thinner consistency.
With sweetener: I wouldn't recommend it for Thermomix cooking because sweeteners don't gel or preserve the same way sugar does. If you want to cut sugar but keep the texture, try birch sugar (xylitol) and add a packet of commercial pectin (like Sure-Jell) halfway through cooking.
Orange and lemon marmalade: replace a third of the oranges with peeled lemons (no seeds or white pith). The result is brighter and more tangy.
With a splash of rum or Cointreau: once cooking is done, before jarring, stir in a tablespoon of aged rum or Cointreau and mix for a few seconds at speed 2. Most of the alcohol burns off from the residual heat, but it leaves a gorgeous background aroma.
On buttered toast: the classic. Freshly toasted bread, butter melting on top, and a generous spoonful of marmalade. Enough said.
To fill cakes: works beautifully as a filling between cake layers or as the base for a baked cheesecake.
With cheese: on a board with aged cheeses (Manchego, Idiazábal, Parmesan), orange marmalade is spectacular. It's also great with fresh cheeses like burrata or mozzarella.
As a meat glaze: thinned out with a little mustard and vinegar, it works as a glaze for tenderloin, duck breast, or roasted chicken.
In yogurt: a spoonful in plain yogurt completely transforms it.
As a gift: a jar of homemade marmalade with a nice label is a gift people genuinely appreciate, especially around the holidays.
Making marmalade in the Thermomix is one of those things that, once you learn, you never stop doing. It's fast, it's clean, the result is infinitely better than anything store-bought, and there's that satisfaction of opening a jar in July that tastes like the oranges from January.
If you're just getting started with homemade preserves, this orange marmalade is the best one to begin with: the ingredients are cheap and easy to find, the process is straightforward, and the margin for error is really small.
If you make it, let me know in the comments. If you come up with your own twist, share it. The best recipes are the ones that keep evolving from kitchen to kitchen.
Easy homemade orange marmalade in the Thermomix. Tested times, temps, and speeds. All natural, done in under an hour.
Give the oranges a good wash. Zest one with a microplane, just the orange part, none of the white. Set that aside. Peel all the oranges with a knife, getting rid of every bit of pith. Break them into segments, pull off the membranes, pick out the seeds. Weigh what you've got; you're looking for about 1.5-1.75 lbs of pulp.
Separate into segments, remove the white membranes and seeds. Weigh the clean pulp; you need about 1.6-1.75 lbs.
Toss the pulp into the bowl with the sugar, lemon juice, and zest. Run it 10 seconds, ramping from speed 5 to 7 to 10.
Want chunks? Go 5-6 seconds at speed 4-5. Want it silky smooth? 15 seconds at speed 10. Scrape down the sides.
30 min / 212°F / speed 1.
Pop the measuring cup off and set the simmering basket on the lid so steam gets out but splatters stay in.
15 min / Varoma / speed 1.
Go straight into this one, don't let it cool down. Same setup: measuring cup off, basket on.
Grab the plate you stashed in the freezer. Drop a teaspoon of marmalade on it, wait a minute, drag your finger through.
Clean line that stays put? Done. Still runny? Give it 5 more minutes at Varoma. Remember, it firms up a lot once it cools.
If it's still too runny, 5 more minutes at Varoma, speed 1. Keep in mind it thickens quite a bit as it cools.
Pour straight into sterilized, dry jars while it's still screaming hot. Fill right to the top, just leave a sliver of space. Crank those lids on tight.
Turn the jars upside down, leave them until they're completely cool. The heat does the work; as it cools the lid sucks inward and locks.
Once cold, press the lid. No click means you're good.