
Few things in the kitchen are as simple and yet as magical as caramel. It’s that little touch that makes all the difference, the finishing touch that transforms an ordinary dessert into a true work of art. Golden, shiny, fragrant, and with the perfect balance between sweetness and bitterness… it doesn’t just sweeten; it evokes memories.
Its origins are as ancient as the very need to preserve and transform food. As far back as the earliest civilizations, sugar was heated to create a viscous, sticky substance that eventually gave rise to caramel as we know it today. But it was in European kitchens, especially in France and Spain, where this technique was perfected, becoming an essential part of traditional and modern recipes alike.
Today, homemade caramel remains an indispensable staple in baking. And for good reason. With just sugar, water (and occasionally a splash of lemon or cream), you achieve a result that is as versatile as it is delicious. It can be fluid for drizzling over flans and custards, or solid for creating shapes, decorative strands, or a crispy layer on top of crema catalana. Its unmistakable aroma, somewhere between toasty and vanilla-like, is a clear sign that something delicious is about to be served.
The Magic of Caramel in Baking
In many Spanish and Latin American homes, making caramel is almost a ritual. Every family has its own trick, its own exact moment, its own way of knowing when it’s “just right.” Some prefer it light and smooth, others darker and more intense. The truth is that the moment when the sugar bubbles and begins to turn amber is pure alchemy. It’s also a moment of calm, of focus, of cooking with soul.
For generations, caramel has been a staple in the most beloved homemade desserts: flan, rice pudding, puddings, custard, baked cheesecakes… Even in caramelized fruits like the classic fairground apples. It’s the taste of Sundays, of family afternoon snacks, of desserts made with love.
A Classic Reinvented
Today, caramel hasn’t lost any of its appeal—quite the opposite: top chefs are reimagining it in new ways. Salty (with fleur de sel), infused with spices, or paired with nuts. In creamy sauces, decorative crisps, or glossy glazes. But if there’s one thing that never goes out of style, it’s homemade caramel, with that subtle toasted note you can only achieve when you watch over it, spoon in hand, from the warmth of your kitchen.
Making it is easy, affordable, and the result is simply spectacular. All you need is patience, a keen eye, and a pinch of love for the art of the handmade. Because there’s nothing quite like watching sugar transform into liquid gold, ready to crown your favorite dessert.
So now you know: the next time you make a sweet treat, add that touch of caramel. It won’t just make it tastier—it’ll make it unforgettable.

How to Make Liquid Caramel That Doesn’t Harden
Description
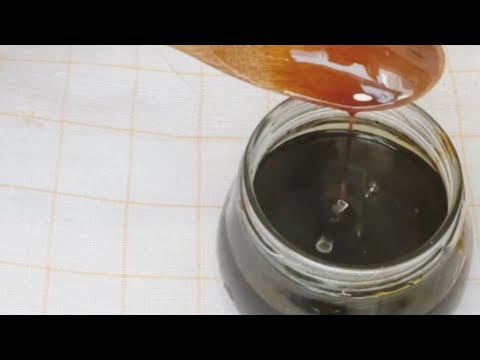
If you're looking for a caramel recipe that doesn't harden and stays smooth, shiny, and with the perfect texture for drizzling over desserts and fruit or adding to your favorite creations, you've come to the right place! This homemade liquid caramel is perfect for flan, ice cream, pancakes, crepes, sponge cakes, or for storing in a jar and using whenever you feel like it.
Below, I’ll walk you through how to make it step by step, with tips to keep it from crystallizing and help it stay smooth for much longer.
Ingredients
Instructions
Method
-
Choose the right pot or pan
Use a heavy-bottomed saucepan to distribute the heat evenly and prevent the sugar from burning.
-
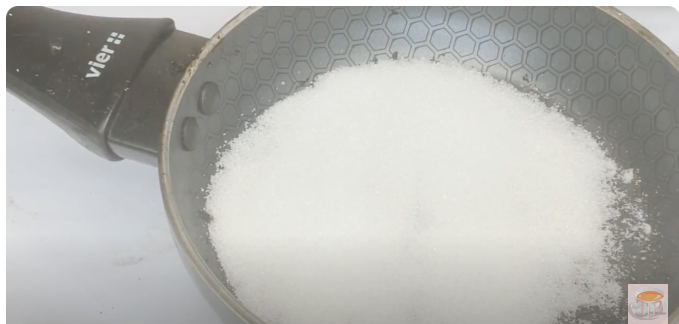
Add the sugar
Add the sugar to the pan and let it melt without stirring. Let it dissolve and caramelize for about 10–12 minutes. You can gently swirl the pan if needed, but avoid using a spoon.
✨ TIP: When the caramel turns a golden amber color, remove it from the heat immediately to prevent it from burning.
-
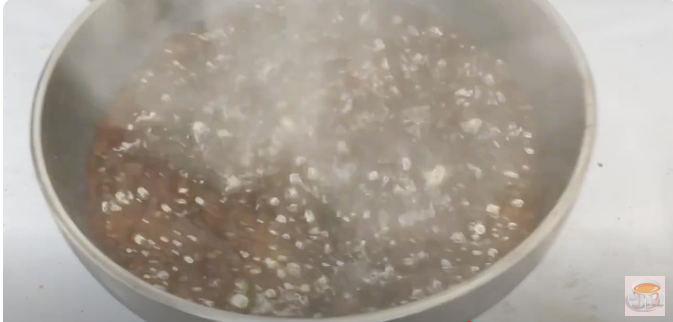
Add the hot water carefully
Slowly add the hot water to the caramel. Be careful, as it may splatter. Stir gently until smooth.
-
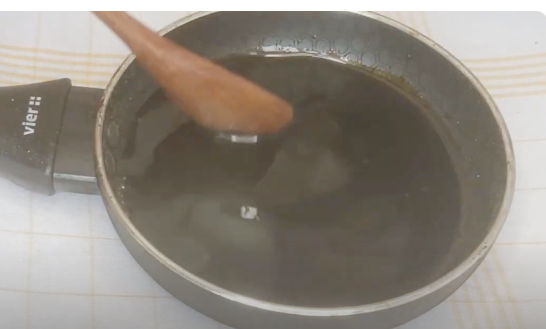
Cool and store
Let it cool to room temperature. The caramel will thicken slightly, but it won’t harden. Store it in an airtight glass jar for several weeks.
Nota
Tips for Perfect Liquid Caramel
Do not stir while the sugar is cooking. This will prevent it from crystallizing.
Adding acid (lemon juice or vinegar) helps maintain the liquid texture.
You can substitute some of the sugar with liquid glucose for a more stable version.
If it hardens slightly as it cools, you can heat it for a few seconds in the microwave before using.
Recommended Uses
This non-hardening caramel is perfect for:
-Puddings and custards
-Pancakes or crepes
-Ice cream and yogurt
-Moist cakes or glazes
-Caramelized fruit