
If you have a Multidelices at home and only use it for yogurt, you’re missing out on half of what it can do. This homemade custard is probably the best way to find out.
The beauty of making it in the Multidelices is that you skip the usual custard headache, which is standing at the stove stirring nonstop for ten minutes, praying it doesn’t curdle, stick, or turn lumpy.
Here you prep the mixture, pour it into the jars, press the button, and walk away. The yogurt maker works at a low, steady temperature, like a water bath, and what you get is silky custard with no lumps, no stress, and no splatter all over the cooktop.
The trick is that the Multidelices has a water reservoir in the base that generates steam and holds a steady temperature around 185°F. That’s exactly what custard needs. Gentle, sustained heat so the eggs set without curdling and the texture stays creamy instead of grainy.
I’ve been making it this way ever since I got my yogurt maker, and I promise it’s the recipe I make most often after yogurt. It’s ready in half an hour (plus chilling time in the fridge), you always have the ingredients on hand, and the result is the kind of custard that makes you close your eyes with every bite. Grandma’s dessert, minus grandma’s suffering at the stove.
This post contains affiliate links. See my full disclosure.
Why this recipe works
Controlled steam cooking is the key. Traditional stovetop custard is made over direct heat, and the risk of overheating is huge. If the eggs go above 185°F, they curdle and the custard turns lumpy.
In the Multidelices, the temperature never goes above that threshold because the heat comes through steam from the water in the base, never directly. It’s almost impossible for it to curdle.
The individual jar format is another plus. You don’t have to pour the hot mixture into bowls (which is when half of it ends up on the counter), and you don’t have to worry about a skin forming on top. Each jar comes out ready to cap and put straight in the fridge, and from the fridge to the table without dirtying another dish.
The ratio I use calls for whole eggs plus extra yolks. The whole eggs provide structure (the whites set and give it body), while the extra yolks add creaminess and color.
The cornstarch is the safety net. It’s not strictly necessary with the yogurt maker’s gentle cooking, but a tablespoon helps the texture hold together and stay firm, which is how we like our custard at home.
Steeping cinnamon sticks and lemon peel in the hot milk before mixing everything together is what sets Spanish custard apart from anything else. You can’t get that aroma by just adding ground cinnamon. You have to give the milk time to absorb the flavor from the cinnamon and lemon. Fifteen minutes of steeping is all it takes for the milk to pick up all that flavor.
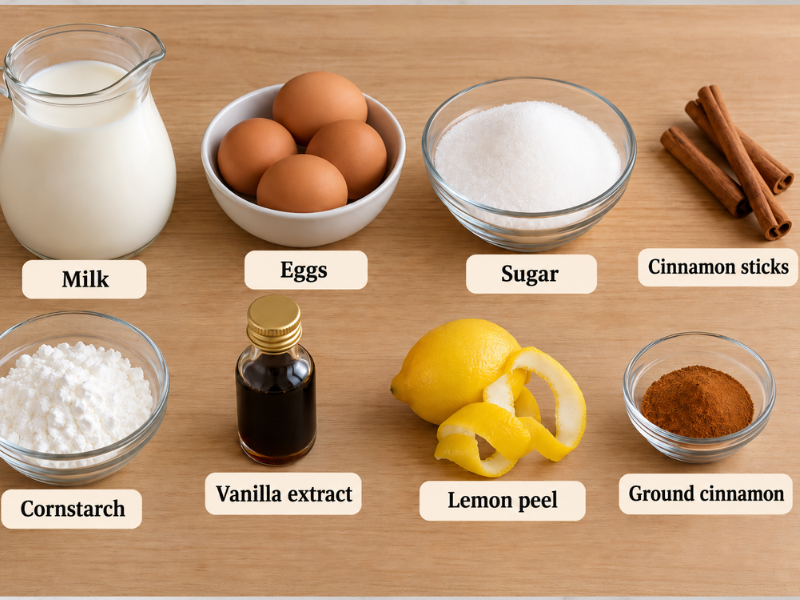
Custard ingredients
Tips before you start
The water in the base is essential. The Multidelices needs the reservoir filled to the maximum level mark for the dairy dessert program. No water means no steam, and no steam means the cooking won’t work properly. This is the most common mistake people make when trying desserts in the yogurt maker for the first time.
Don’t fill the jars to the top. Leave them about two-thirds full. The mixture rises slightly as it heats up, and if you overfill them it can overflow inside the yogurt maker, which means a real mess to clean up.
Always strain the mixture before pouring it. No matter how well you beat it, there will be bits of egg white, leftover cinnamon, or bits of lemon peel. A fine-mesh strainer over a pitcher with a spout lets you pour straight into the jars without spilling.
Don’t open the lid during cooking. The temptation is real, but every time you open it you lose steam and temperature, and the final result suffers. Trust the program and wait for the beep.
Chilling is part of the recipe. Freshly made custard will be runny and hot. It needs at least 2 hours in the fridge to set completely and reach the creamy texture you’re looking for. If you can leave it overnight, even better.
Use the Multidelices jars. They’re designed to fit the diameter and height of the yogurt maker, and the glass distributes heat evenly. If you use other containers that don’t fit properly, the cooking can be uneven.
How to tell when they’re done right
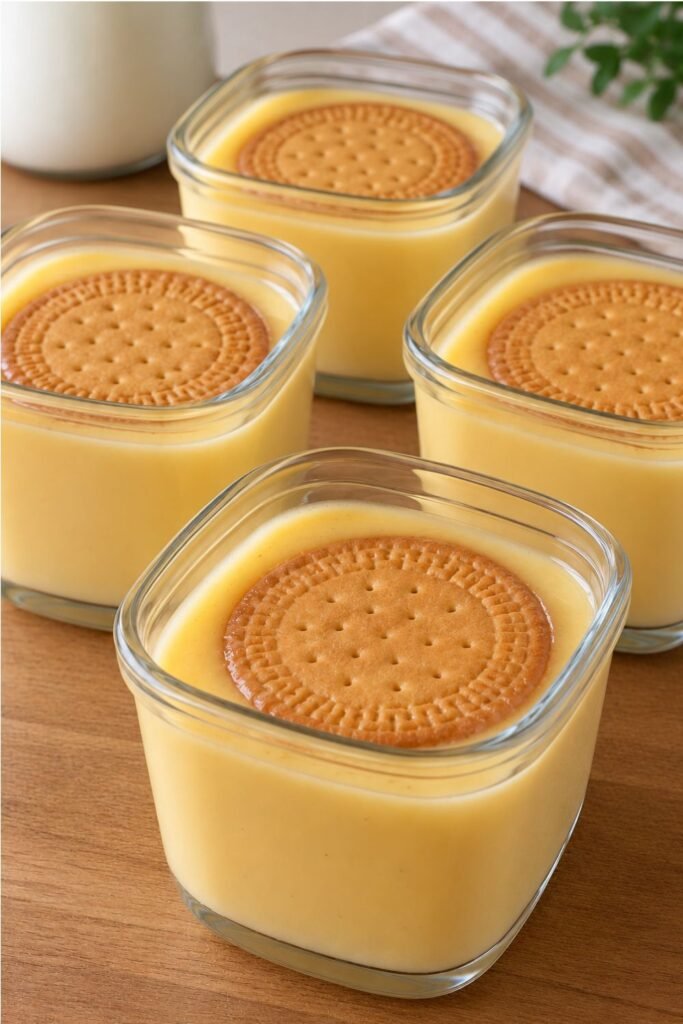
Custard fresh out of the Multidelices will look pretty runny. Don’t panic, that’s normal. As it cools in the fridge, it sets and takes on the creamy texture you’re after.
If after 3 to 4 hours in the fridge it’s still completely liquid, something may have gone wrong (not enough egg, too much milk, or the Multidelices didn’t have enough water in the base). If that happens, try adding an extra yolk or increasing the cornstarch to two teaspoons next time.
If on the other hand it came out too firm, almost like flan, reduce the cooking time by 5 minutes or cut back on the cornstarch. Custard should have a creamy texture, not a flan-like one. It should jiggle when you shake the jar and a spoon should slide right through.
Storage
In the fridge, covered with their lids or plastic wrap, they keep perfectly for 3 to 4 days. This is one of those desserts that actually tastes even better the next day, once it’s had time to rest and all the flavors have settled.
At room temperature, don’t leave them out of the fridge for more than an hour. They contain egg and milk, so they’re sensitive to heat.
Freezing is something I don’t recommend. Custard loses its texture when thawed. The liquid separates from the solids and the result is watery and lumpy. This is a dessert meant to be made and eaten fresh.
One of the perks of making them in the Multidelices is that the jars go straight from the machine to the fridge and from the fridge to the table. No transferring, no extra dishes.
Variations and substitutions
For a chocolate version, add about ⅓ cup unsweetened cocoa powder to the egg and sugar mixture. Beat well so it blends in without lumps. Cooking time stays the same. For a more intense flavor, melt about 2 oz of dark chocolate into the hot milk before steeping.
For a coffee version, dissolve 2 teaspoons of instant coffee (or a shot of espresso) in the hot milk. You can combine the coffee with the cinnamon or skip the cinnamon and go with coffee only. It’s delicious with a little whipped cream on top.
For an orange version, swap the lemon peel for the peel of a whole orange. The aroma is milder and sweeter. If it’s in season, a few drops of orange blossom water take the flavor up a notch.
Without cornstarch. If you prefer a lighter, silkier custard, more like a crème anglaise, skip the cornstarch. The texture will be thinner, like a pourable cream, but the flavor is the same. Add an extra yolk to make up for it.
With sweetened condensed milk. Replace about ½ cup of whole milk with sweetened condensed milk and skip the sugar. The custard comes out sweeter and with a nice toasty sweetness. Cut the sugar to ¼ cup if you want something in between.
With oat or soy milk. It works, but the texture is different (thinner, less creamy). Add an extra tablespoon of cornstarch to make up for it, and adjust the sugar since plant-based milks usually contain some added sugar.
With nougat. During the holidays, add about 2 oz of soft Spanish nougat (turrón de Jijona) to the hot milk and stir until it melts. Cut the sugar in half because the nougat is already very sweet. It makes a spectacular holiday dessert with very little effort.
Frequently asked questions about custard in the Multidelices
Which program do I use on the Multidelices for custard?
The dairy dessert program. It’s P3 on the older Multidelices models or P4 on the Multidelices Express. This program runs at around 185°F using steam, which is the ideal temperature for setting the custard without curdling the eggs.
How long should I leave them?
25 minutes in the 6-jar model, 35 minutes in the 12-jar model. These are the times from the official T-fal recipe book. If you want them firmer, you can go up to 30 or 40 minutes respectively, but watch out that they don’t end up flan-like.
Is the water in the base absolutely necessary?
Yes, absolutely. The dairy dessert program works with steam. Without water in the base, there’s no steam, the cooking doesn’t work properly, and the custard won’t set. Always fill to the maximum level mark.
Can I use the yogurt jars or do I need different ones?
The standard glass jars that come with the Multidelices (about 5 to 5.5 oz) work fine. You don’t need any special accessories for custard. If you have the large 1-quart container, you can also use it to make one big batch instead of individual servings, but the cooking time goes up to about 40 to 45 minutes.
Why does my custard turn out lumpy?
Lumps happen for two reasons. Either the milk was too hot when you poured it over the eggs (which partially cooks them), or you didn’t beat it enough. The solution is to let the milk cool down before pouring it in (it shouldn’t burn when you touch it) and to always strain the mixture before pouring it into the jars.
Can I make it without eggs?
You can, but it won’t be custard in the traditional sense. Replace the eggs with about 3 tablespoons of cornstarch dissolved in a little cold milk and mix it with the rest of the hot milk, sugar, and flavorings. The result is closer to a light pastry cream than a set custard, but it still tastes great.
Can I make a double batch (12 jars)?
If you have the 12-jar model, yes. Double the ingredients and set the time to 35 minutes. If you have the 6-jar model, you’ll need to run two batches back to back.
Can I make this in a regular yogurt maker that isn’t a Multidelices?
Basic yogurt makers (the kind with only a yogurt program that runs at about 109°F) won’t work for custard because the temperature is too low to set the eggs. The Multidelices and other multi-function yogurt makers with a dairy dessert program (around 185°F with steam) will work.
Does custard taste different when made in the Multidelices versus on the stove?
The flavor is practically the same. The difference is in the texture. Custard from the Multidelices comes out slightly firmer and more even because the cooking is gentler and more consistent. Stovetop custard, when done well, comes out a bit creamier and more fluid. Both are delicious, but the Multidelices version is incomparably easier.
Can I warm them up before serving?
Custard is served cold. It’s a fridge dessert. But if you’d like to try it warm (some people prefer it that way), take it out of the fridge 30 minutes ahead of time or give it a few seconds in the microwave on the lowest setting.
The Multidelices is one of those appliances that a lot of people underuse. You buy it for yogurt, make yogurt for a couple of months, and it ends up in the back of the cabinet.
That’s a shame, because the dairy dessert program is amazing for custard, flan, creams, and all kinds of desserts that people usually skip because they don’t want to babysit the stove.
This custard is the perfect example. A dessert that on the stovetop demands your full attention for ten minutes (don’t stop stirring for a second or it sticks and curdles), here becomes mix, pour, press the button, and forget about it.
If yours is sitting in storage, pull it out and make this custard this weekend. If you’re thinking about buying one, this recipe is all the proof you need.
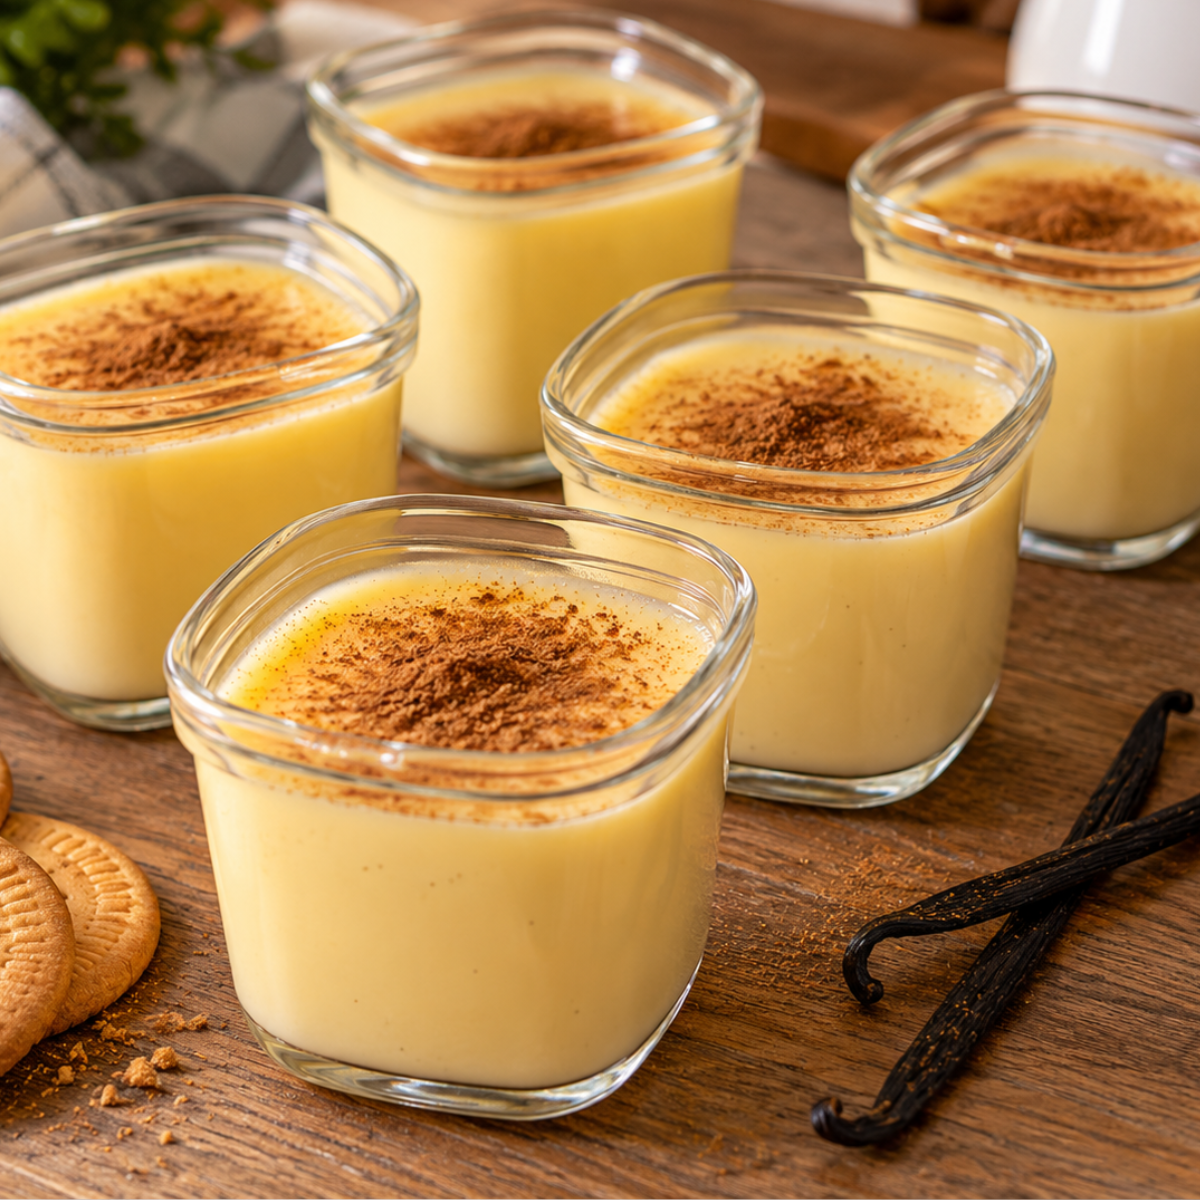
Homemade Custard in Multidelices

Description
Step-by-step homemade custard recipe for the T-fal Multidelices yogurt maker. Creamy, with cinnamon and lemon flavor, ready in 25 to 35 minutes with no stirring. Includes program settings, timing, and tips.
Ingredients
Method
-
Steep the Milk
In a saucepan over medium heat, combine the milk, cinnamon stick, and lemon peel. Heat until it starts to steam and small bubbles form around the edges, just before it boils. Remove from heat, cover, and let it steep for 15 minutes. Then remove the cinnamon and lemon peel and let it cool slightly.
-
Prepare the Egg Mixture
While the milk steeps, whisk the eggs, extra yolk, and sugar together in a large bowl. Beat vigorously but don’t whip them (you don’t want foam, you just want them well combined). Whisk in the cornstarch until smooth. If you’re using vanilla, add it here
-
Temper the Eggs with the Milk
Pour the warm milk over the egg mixture in a thin stream, whisking constantly. This step matters. If you dump all the milk in at once, especially if it’s too hot, the eggs will partially cook and you’ll end up with lumps.
Thin stream, constant whisking.
-
Strain and Fill the Jars
Pour everything through a fine-mesh strainer into a pitcher. This catches any lumps, egg white strings, or bits you don’t want in there.
Divide the mixture among the 6 Multidelices jars, filling them about two-thirds full. Don’t put the lids on.
-
Set Up the Multidelices
Fill the base with water to the max level line. Set the filled jars in place and close the lid. Select the dairy dessert program (P3 on older models, P4 on the Multidelices Express).
Set the time to 25 minutes if you have the 6-jar model, or 35 minutes if you have the 12-jar model. Press OK to start.
-
Let the Multidelices Do Its Thing
The yogurt maker takes it from here. The water in the base creates steam that cooks the custard gently and evenly. Don’t open the lid while it’s running.
-
Cool and Refrigerate
When it’s done, carefully open the lid (hot steam will escape) and leave the jars inside the Multidelices for about 10 minutes to start cooling. Then take them out, cover them with their lids or press plastic wrap directly against the surface (this keeps a skin from forming), and refrigerate for at least 2 hours. Overnight is even better.
-
Top and Serve
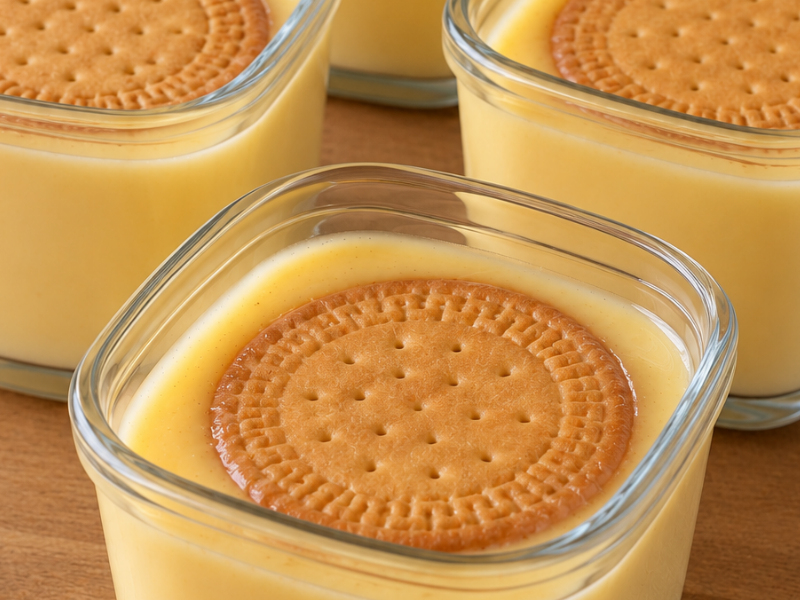
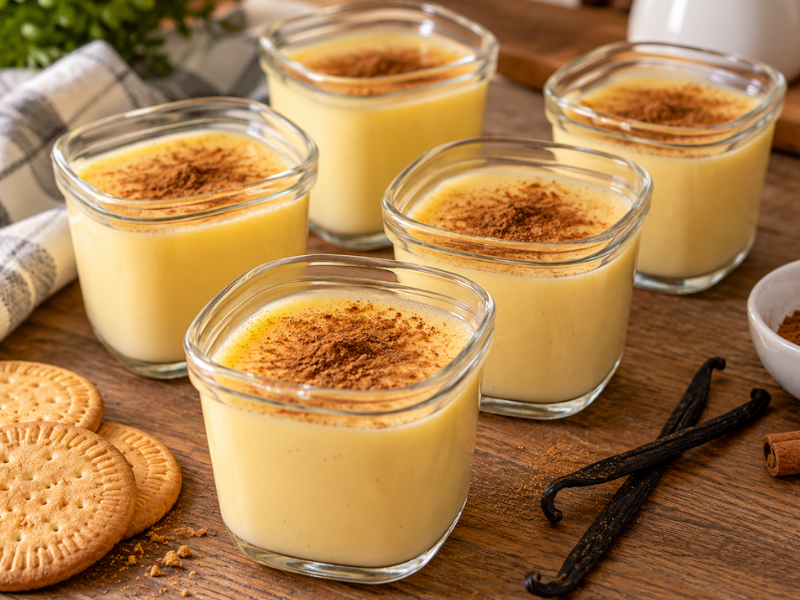
Before serving, dust with ground cinnamon and, if you want the traditional finish, set a Maria cookie on top of each jar.